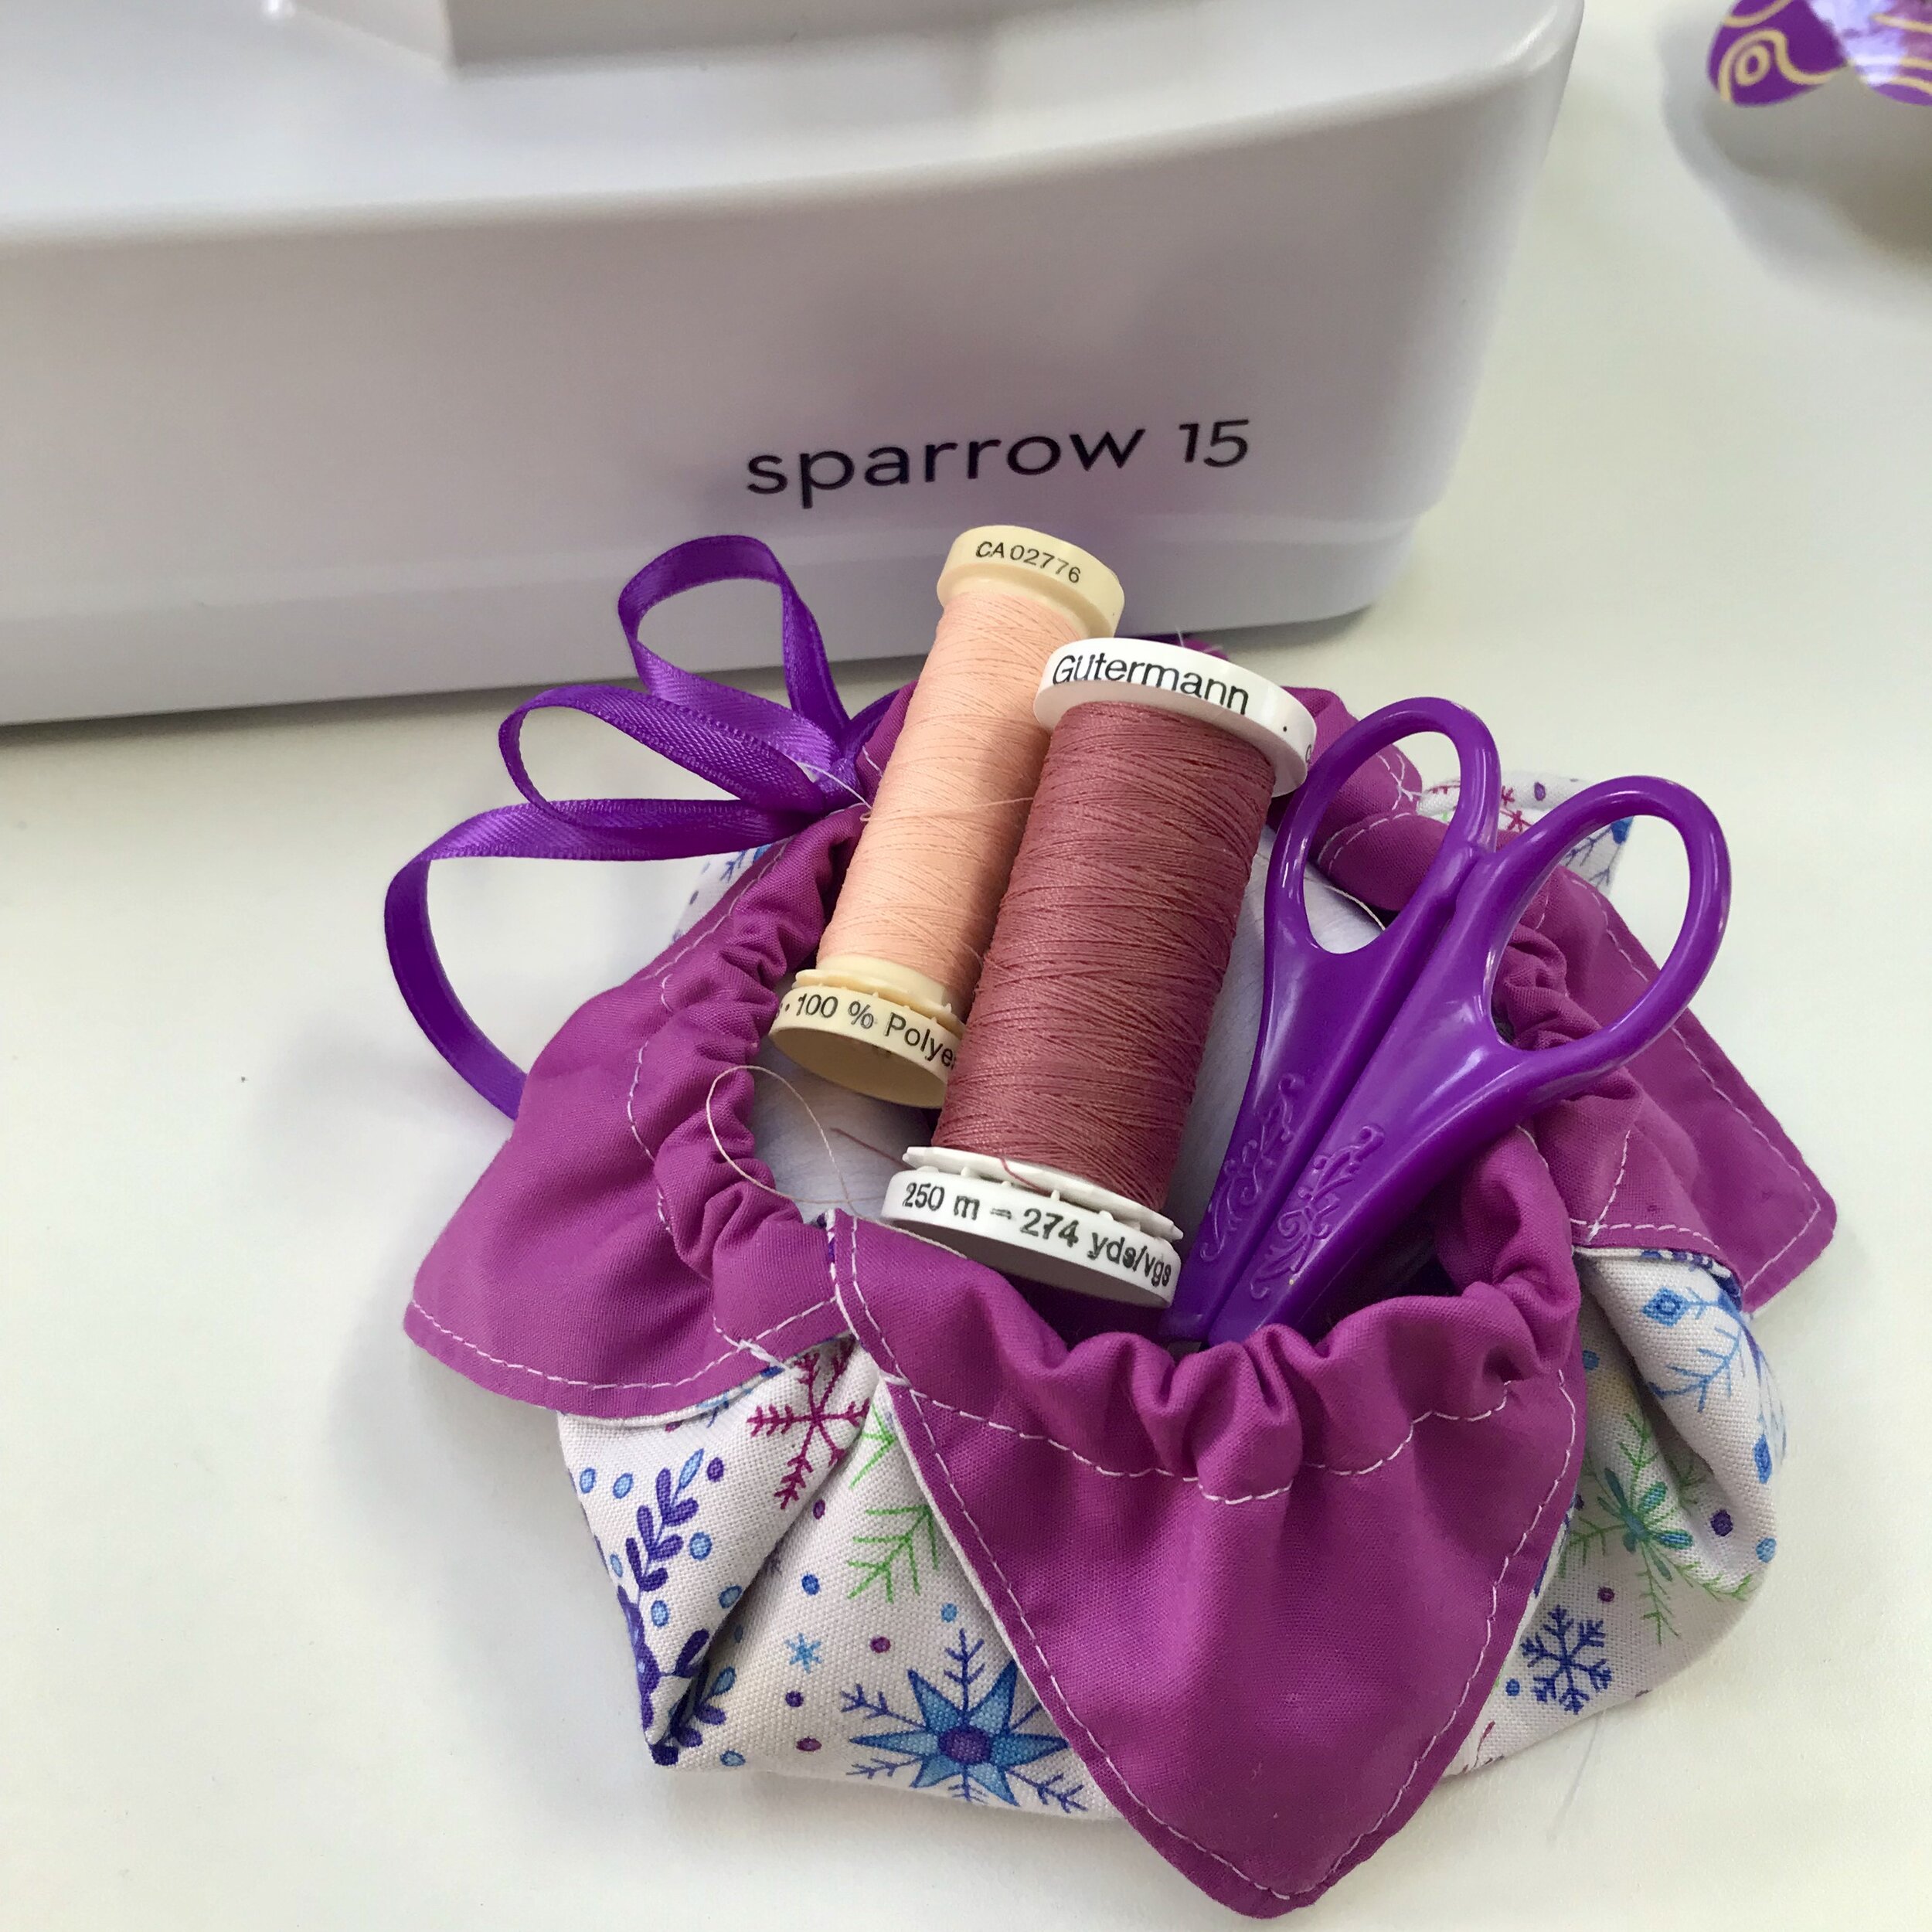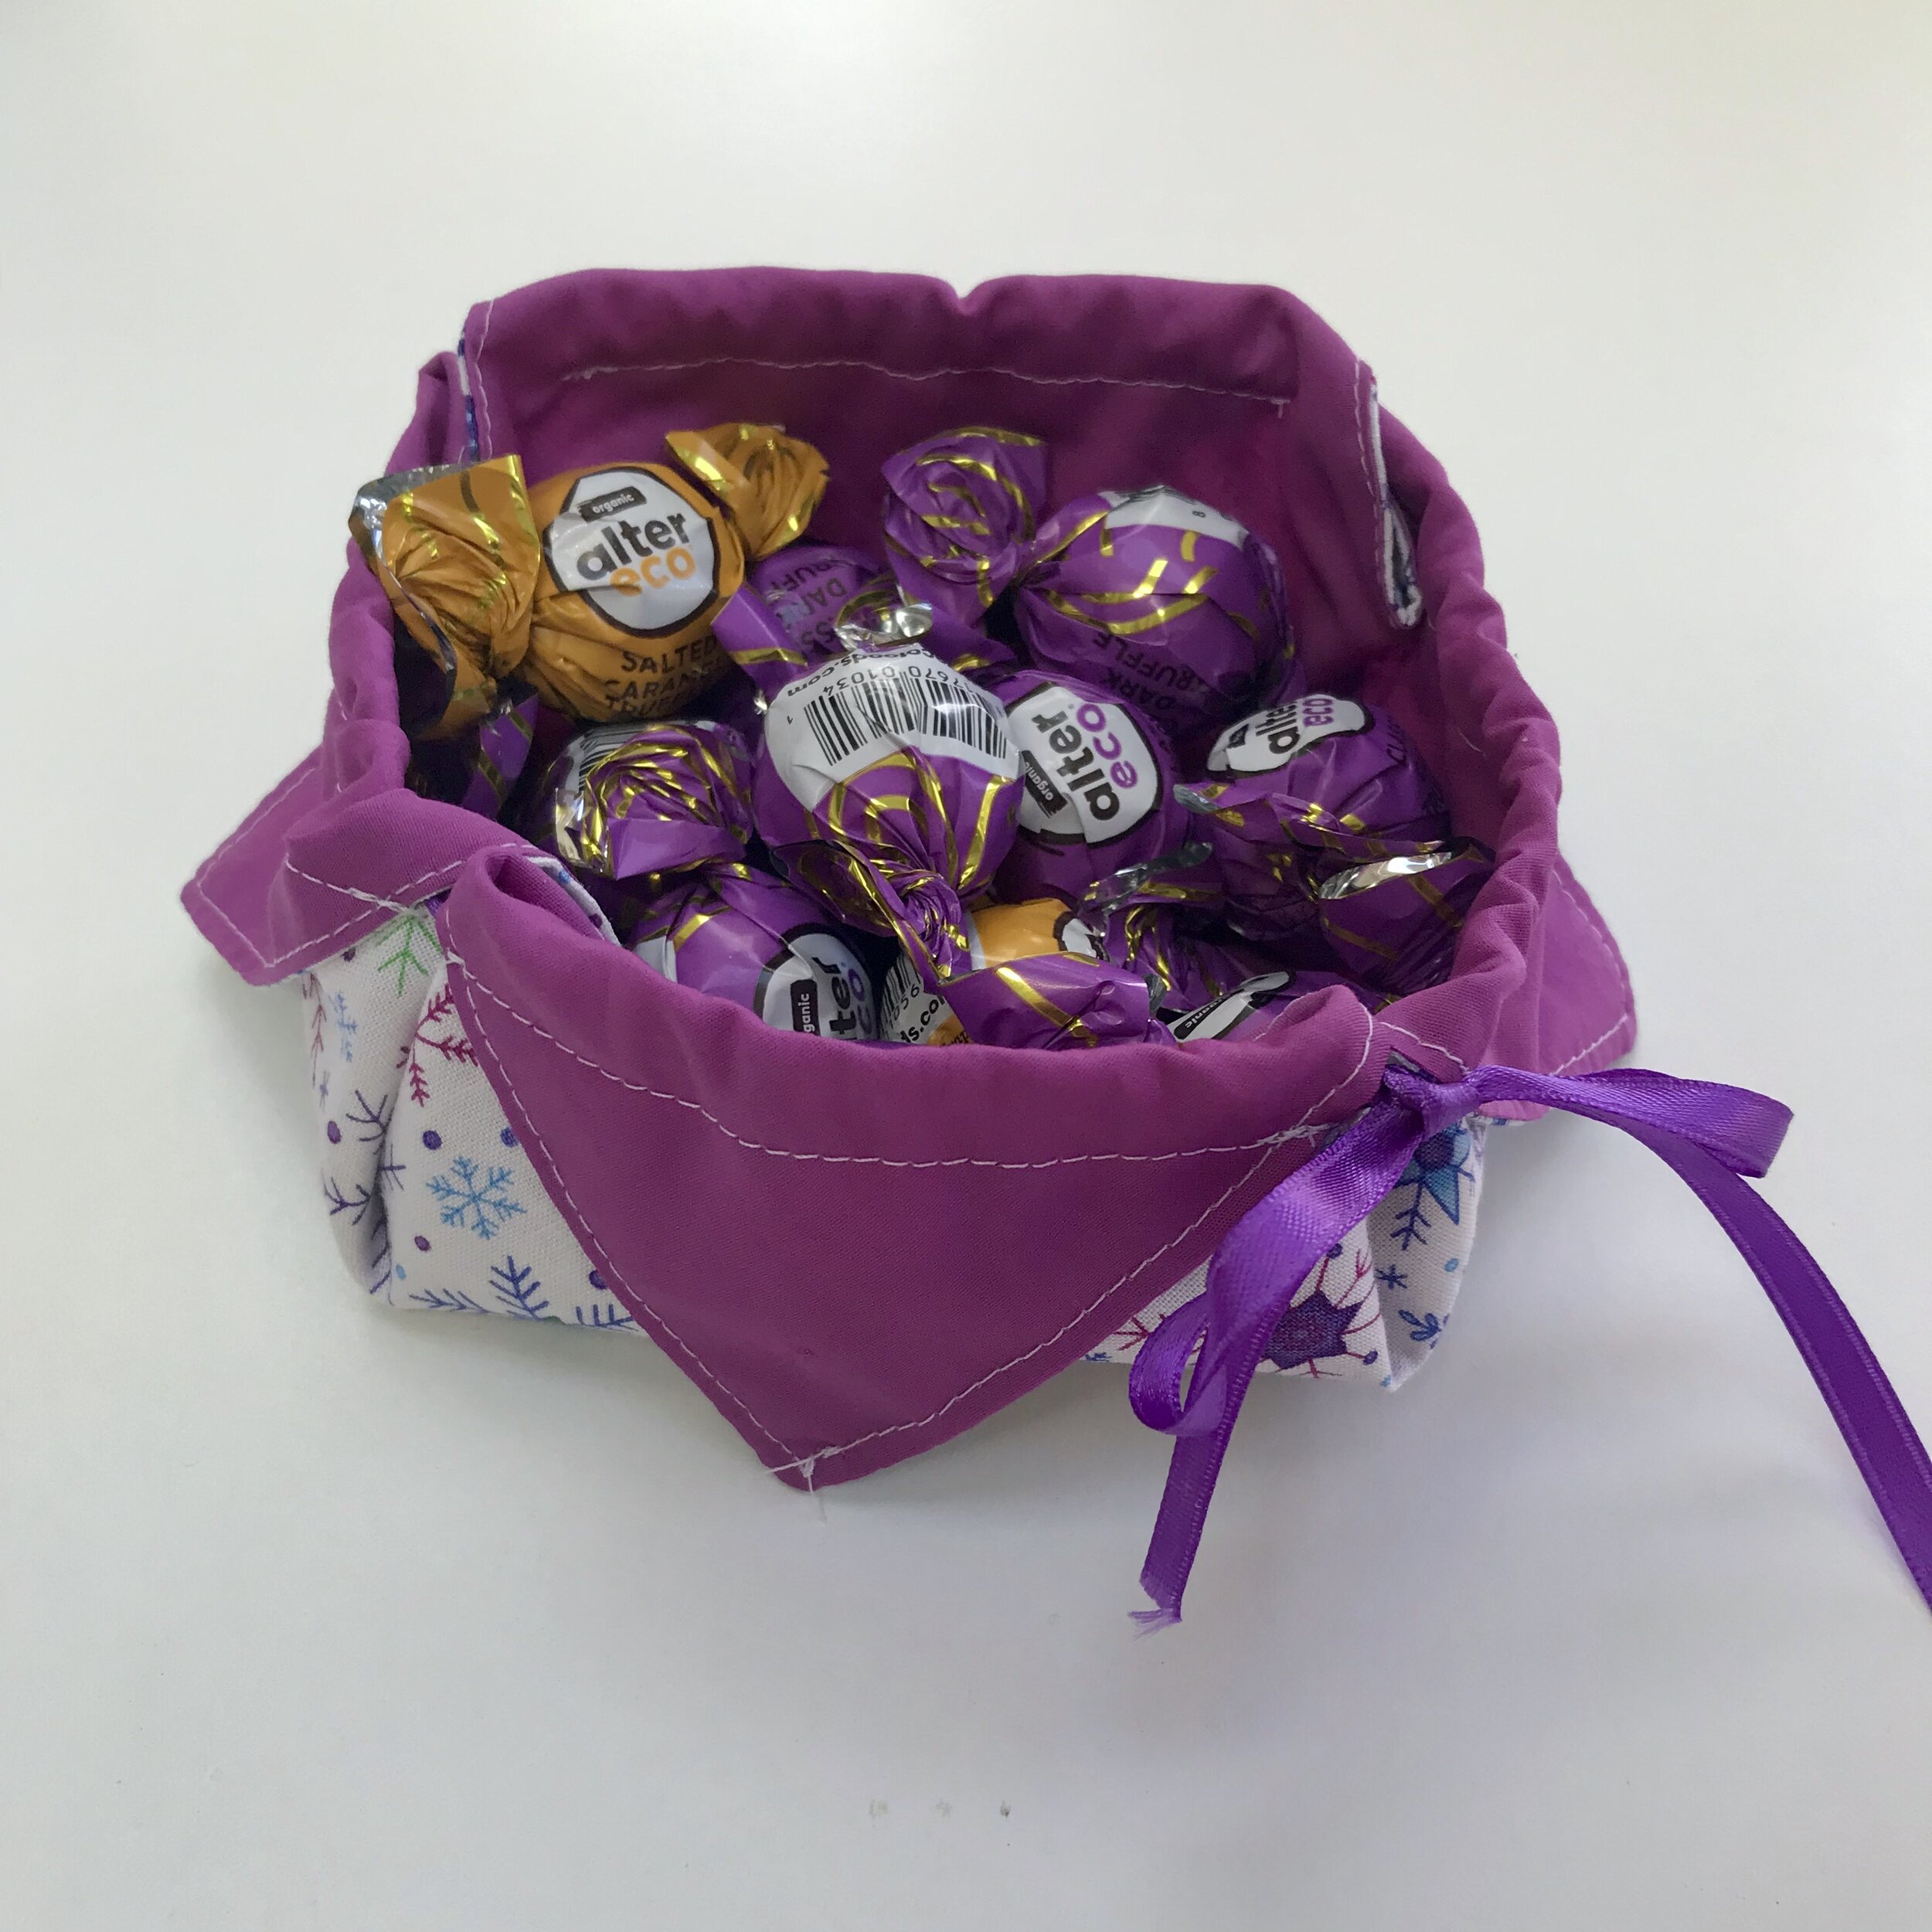
Holiday Gift Satchel

A little holiday gift wrapping
You will Need:
2- 8 to 14 inch squares of fabric. You get to choose the size.
Ribbon
Cardboard or paper if you wish to make yourself a template.
Sewing machine
Safety pin/ bobbin turner + all your basic sewing notions
Iron

For this demonstration we will use a 10 inch square.
Cut out two 10 inch squares or whatever size you decid to make.

Line up the squares with the right sides together (pretty sides in). Place 2-3 pins in each side to hold the fabric in place while you sew.

Mark a place to leave a 2 1/2 inch hole in the middle of one side. With a 3/8 inch seam allowance (or the width of your pressure foot), start sewing at one side of your hole. Sew all the way around to the other side of hole, pivoting on corners. Remember to backstitch when starting and finishing.

Clip across corners as seen in picture to reduce bulk. Now you're ready to turn your project right side out. Pull project out through the hole you created.

After turning project make sure you have poked all corners out into crisp edges. Use a dull pencil tip or chopstick to help.
Finish this step by finger pressing, then ironing the piece into alignment.

Top stitch all the way around as close as possible to the edge.This will close up your original hole and keep the fabric from ballooning out.

Place your square with the outside of your satchel face up. Fold each corner in about 2 inches at a 45 degree angle. Each corner should be the same size so you end up with a + in the middle. You can make your corners slightly smaller but be carful not to make them too much bigger or it will make your satchel smaller. Pin corners in place so they don’t slip while sewing

Sew across each corner between 1/2 to 3/4 inch away from edge. It can be helpful to draw a line to follow. You will need to slide your ribbon and safety pin through this casing so be carful to leave enough room for them to fit through. This casing was sewn at 1/2 inch. Remember to backstitch when starting and finishing.
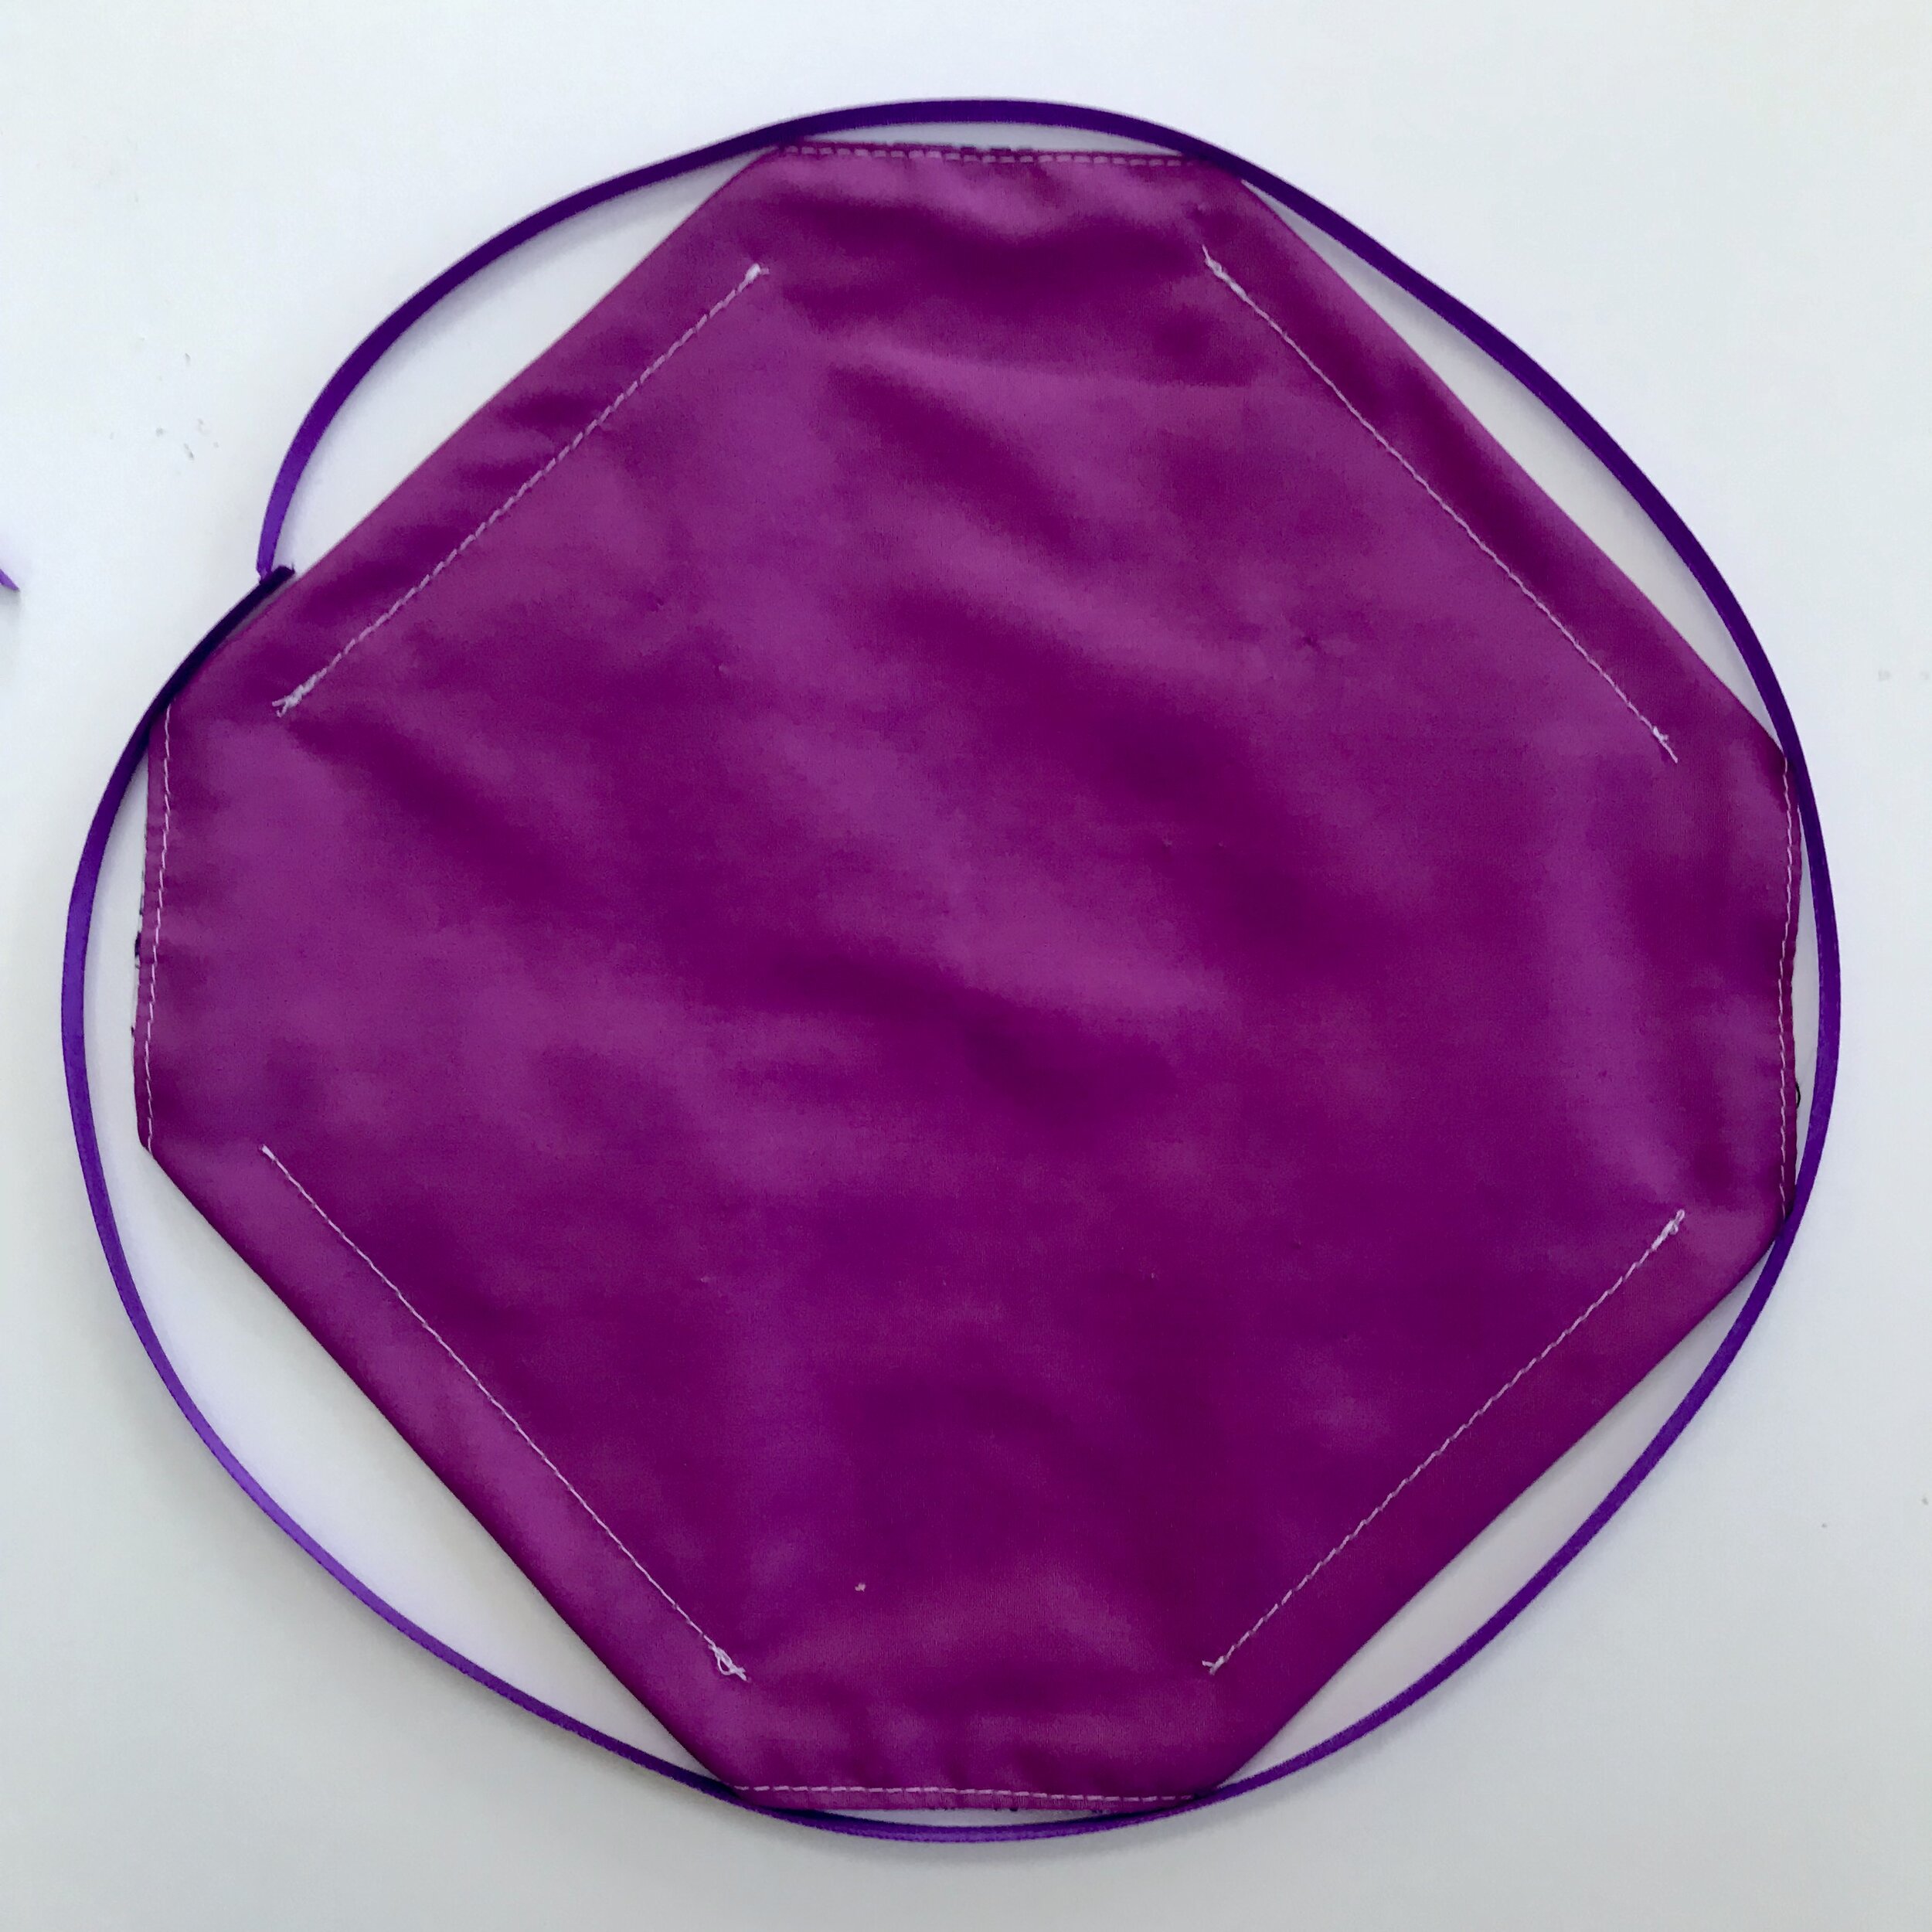
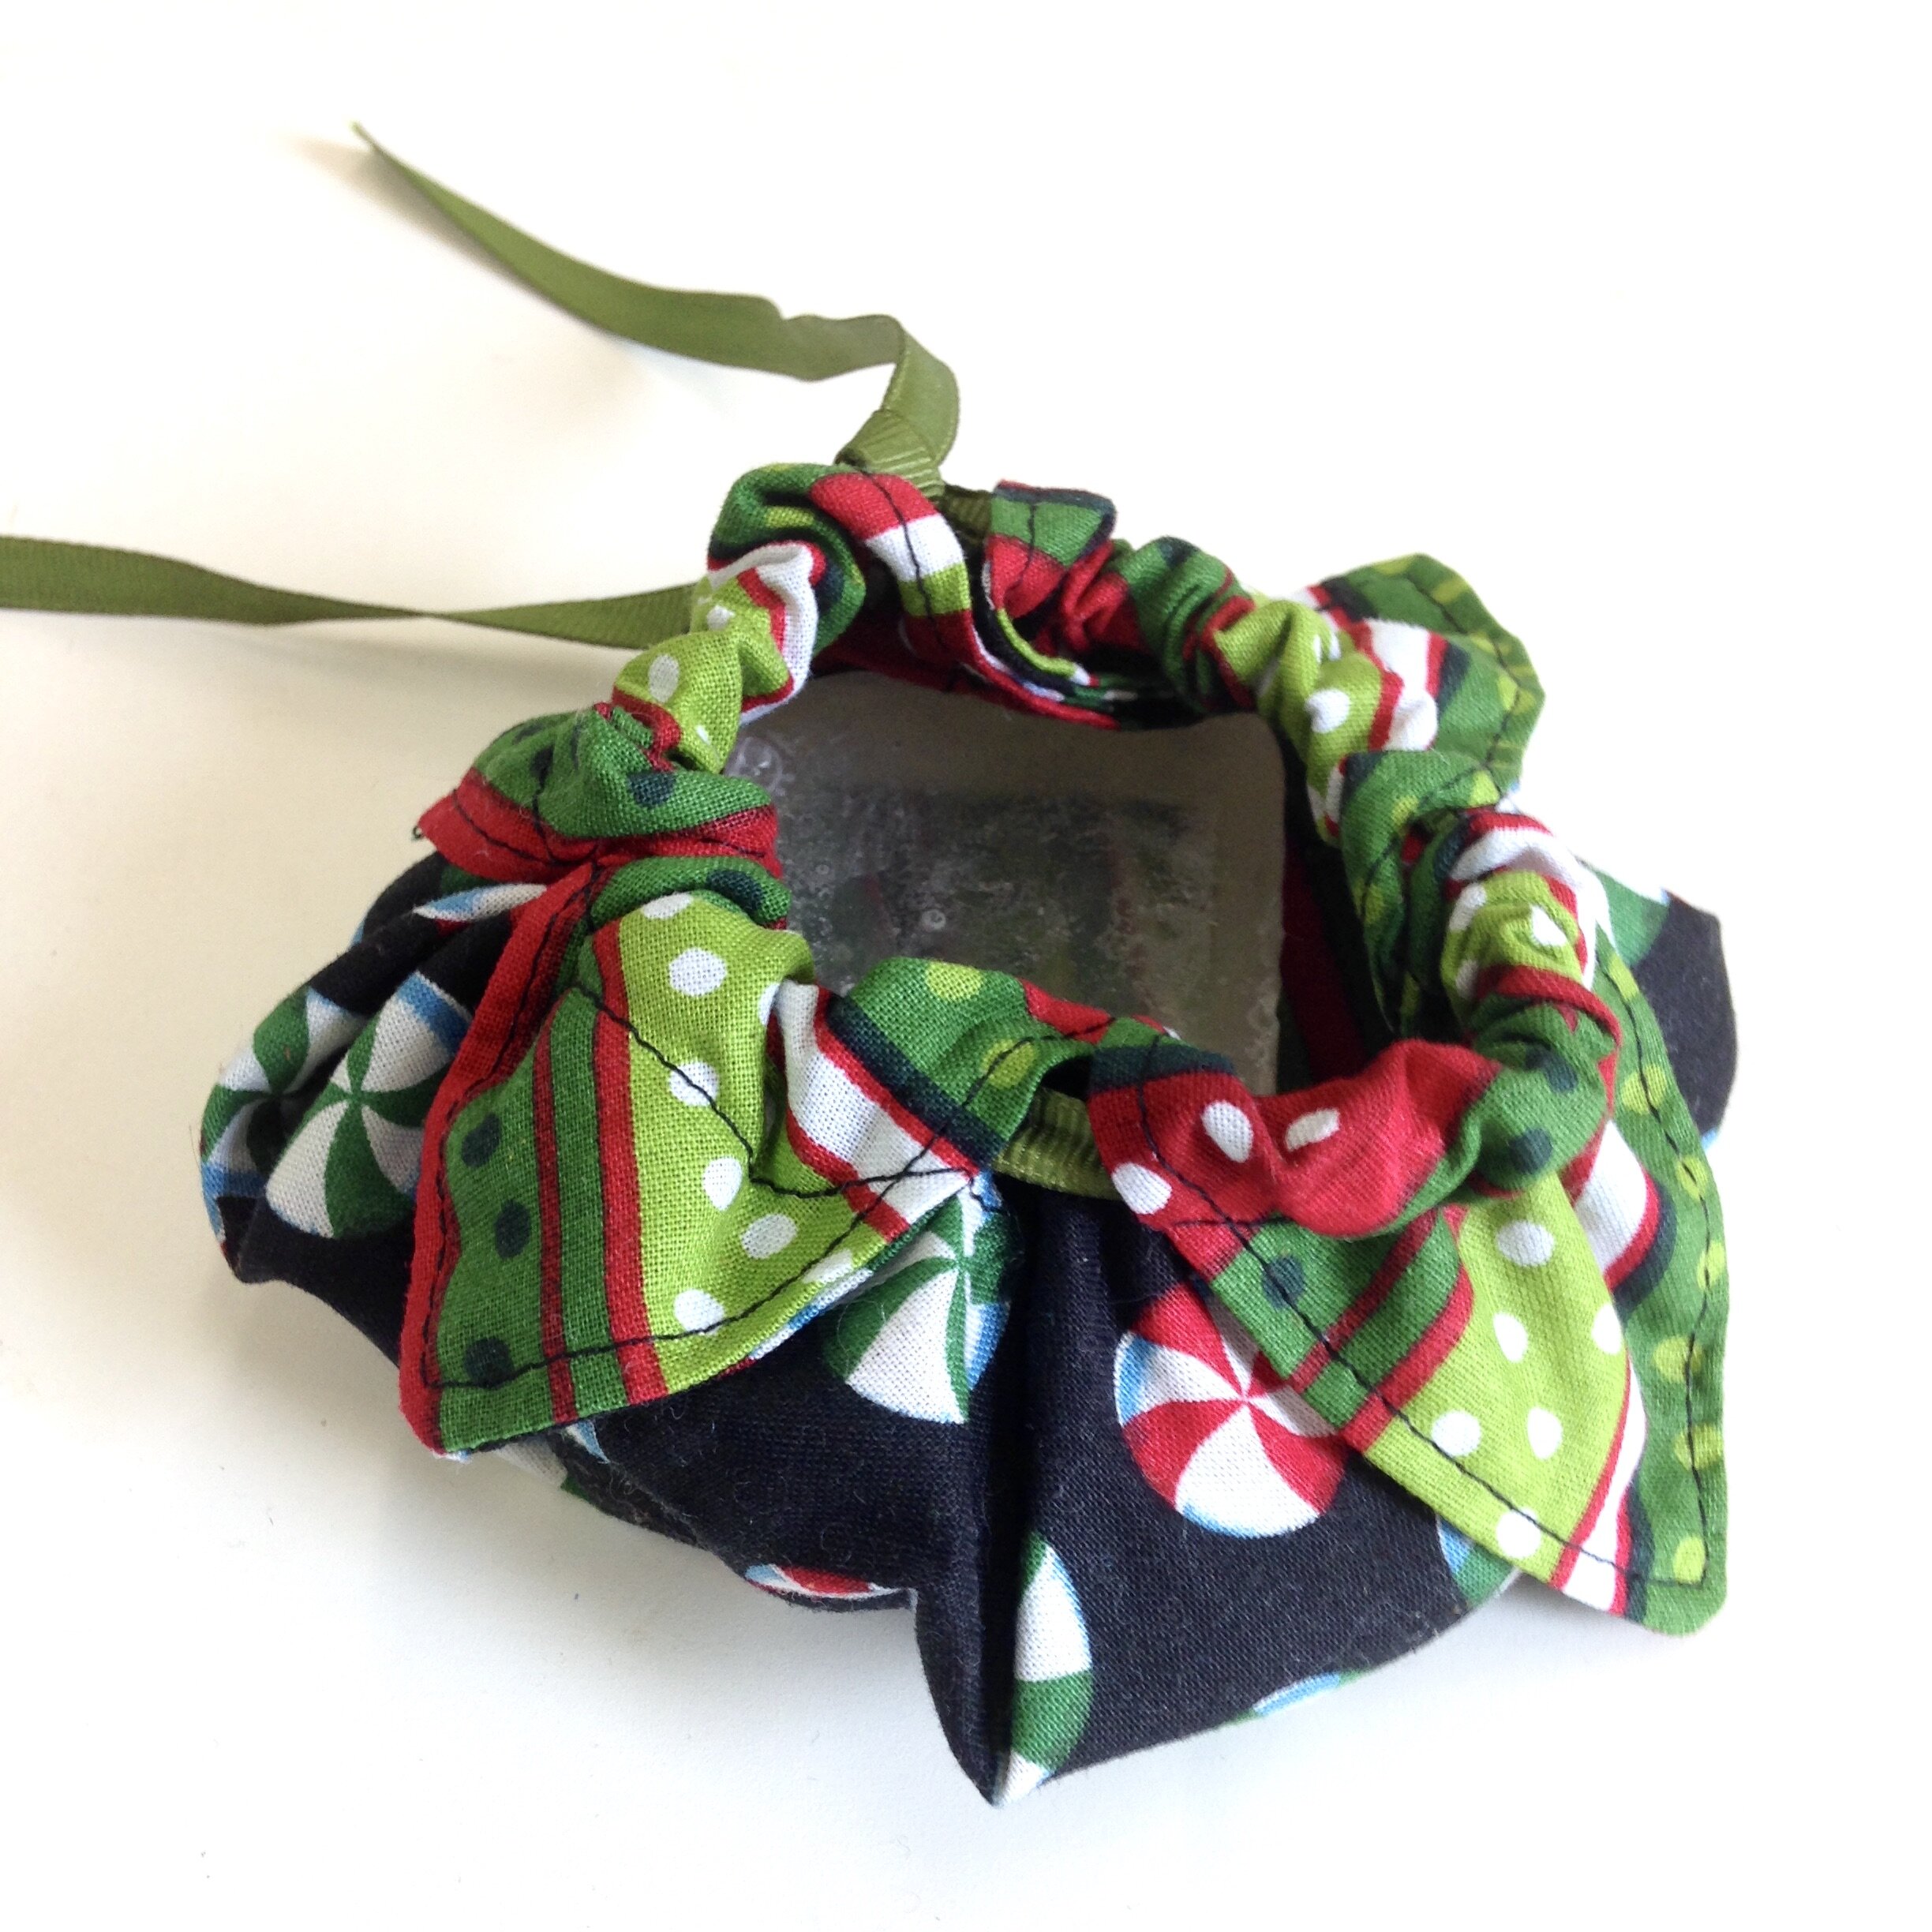
Cut your ribbon approximately the size of your project. Wrap your ribbon around the outside of the square to get approximate length.

Using a safety pin or bobbin turner, attach it to one side of your ribbon then weave it through all of your sides.
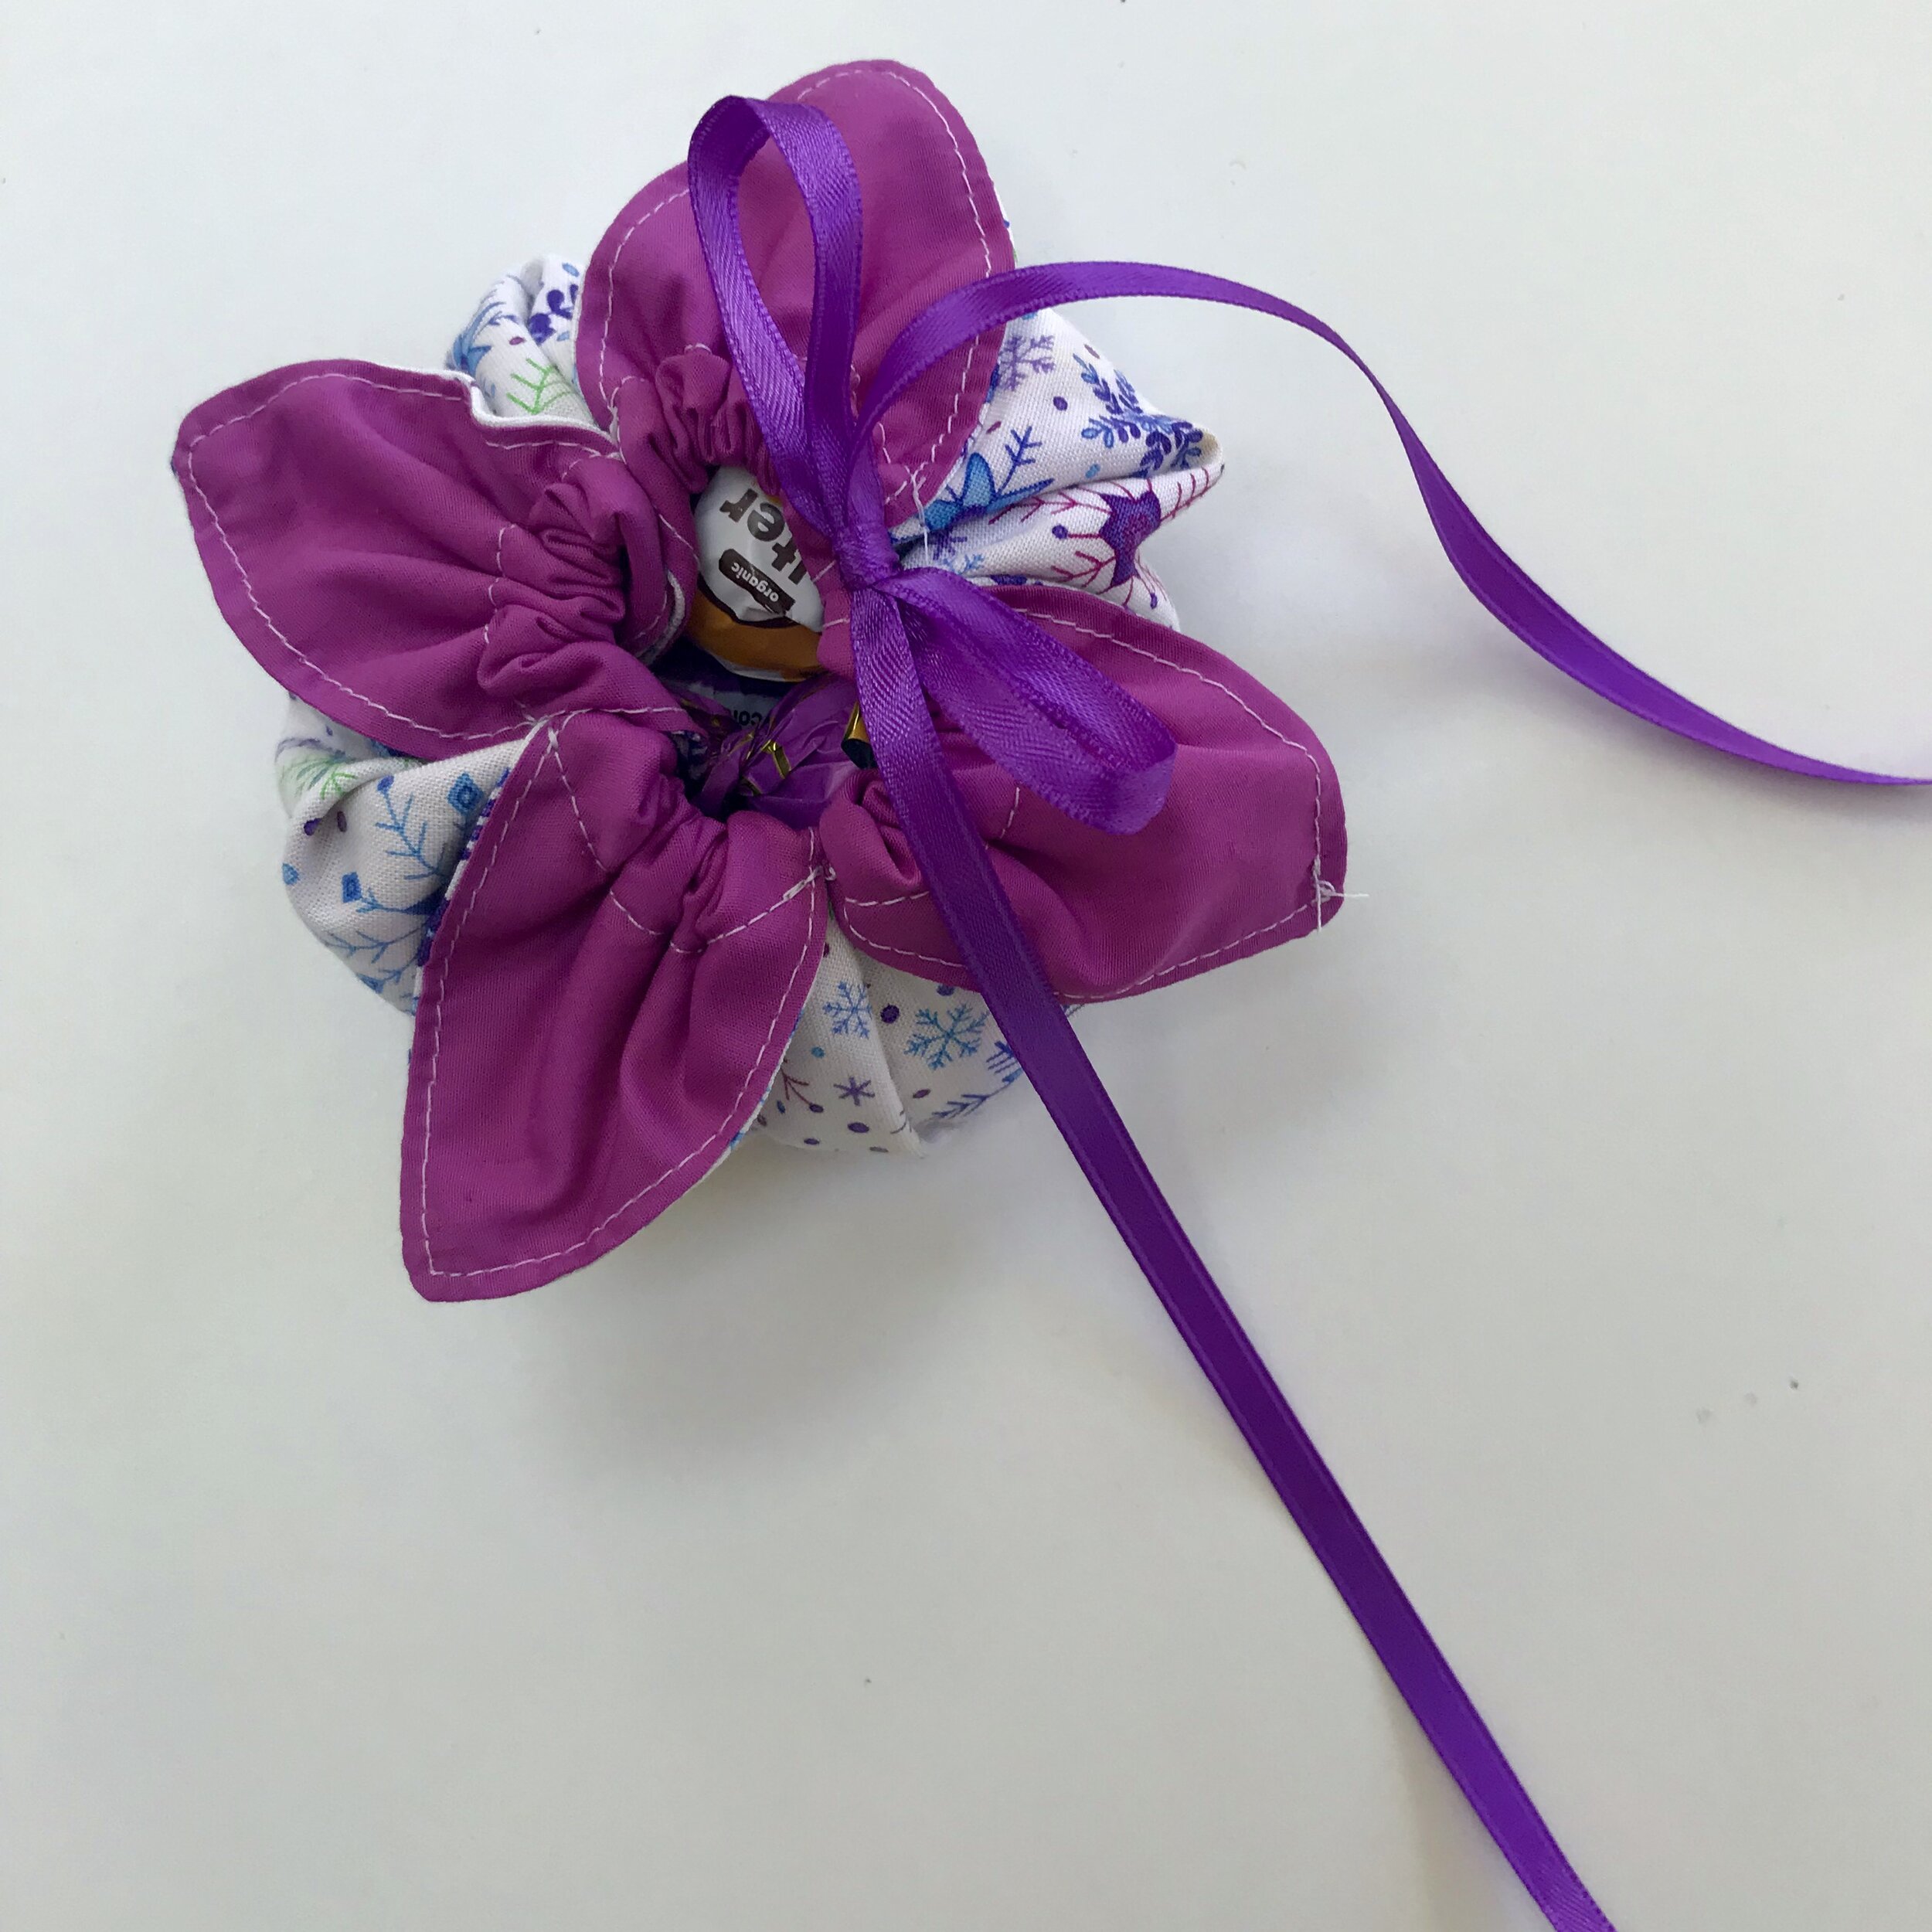
Pull tight and ….

Voila!
You have created your gift satchel. Let your imagination run and see what other fun things you can use this little satchel for.